A guide to preparing apples for baking
One of my favorite fall activities is to go apple picking. The apples have so much more flavor when they are that fresh! During the year I make apple bread & apple pie, so I like to prep, package & freeze the freshly picked apples. So here are a few tips & tricks that work for me.
I think apples that are a little more tart (like McIntosh, Braeburn, Cortland, Jonathan) work best for baking. Sometimes the sweeter apples (like Red Delicious, Gala, Honeycrisp) can get a little mushy when you bake them. I also don’t like my baked goods too sweet. But this is totally a personal preference, so use your favorites! I frequently combine a couple different kinds to change up the flavor just a little.
I use a pretty basic device to peel, slice & core the apples. I’ve had mine forever, but you can get them on amazon or at most stores that carry kitchen gadgets. A decent one will probably cost you about $25. This is certainly not a “can’t live without it” tool, but it does make the peeling, coring & slicing go faster than if you are doing it by hand.
Apples do turn brown if exposed to air for too long. So I have a bowl of water with some lemon juice mixed in. I use bottled lemon juice, but you can use fresh. I also don’t measure the lemon juice. You just want enough in the water to prevent oxidation, which causes the browning. But you don’t want so much that the apples taste like lemons! A good rule of thumb is about 1 tbsp lemon juice per 1 cup of water.
Once you have your lemon water ready, go ahead & prepare your apples. Then drop them in the bowl of lemon water. About 2-5 minutes should do the trick. Then I use a slotted spoon to scoop them out, letting the water drain off.
For my apple bread recipe, I need 1½ cups of diced apples, so I put that amount in a sandwich size ziplock bag, then label it with the amount & date. For my apple pie filling I use 6-8 sliced apples for a 9 inch pie, so I put those in a gallon size ziplock bag. You can even add your sugar & spices at this time. Or not & add them when you defrost the apples for your pie filling.
Something to keep in mind is to make sure you really drain off the water before you freeze the prepared apples. If you don’t, you may end up with ice in your bag. If this happens, you can always drain it when you defrost the apples, before adding them to your recipe. But if you have made apple pie filling & seasoned it before freezing, you probably don’t want to drain it, so you may need to add a little GF flour to thicken up the juice a little.


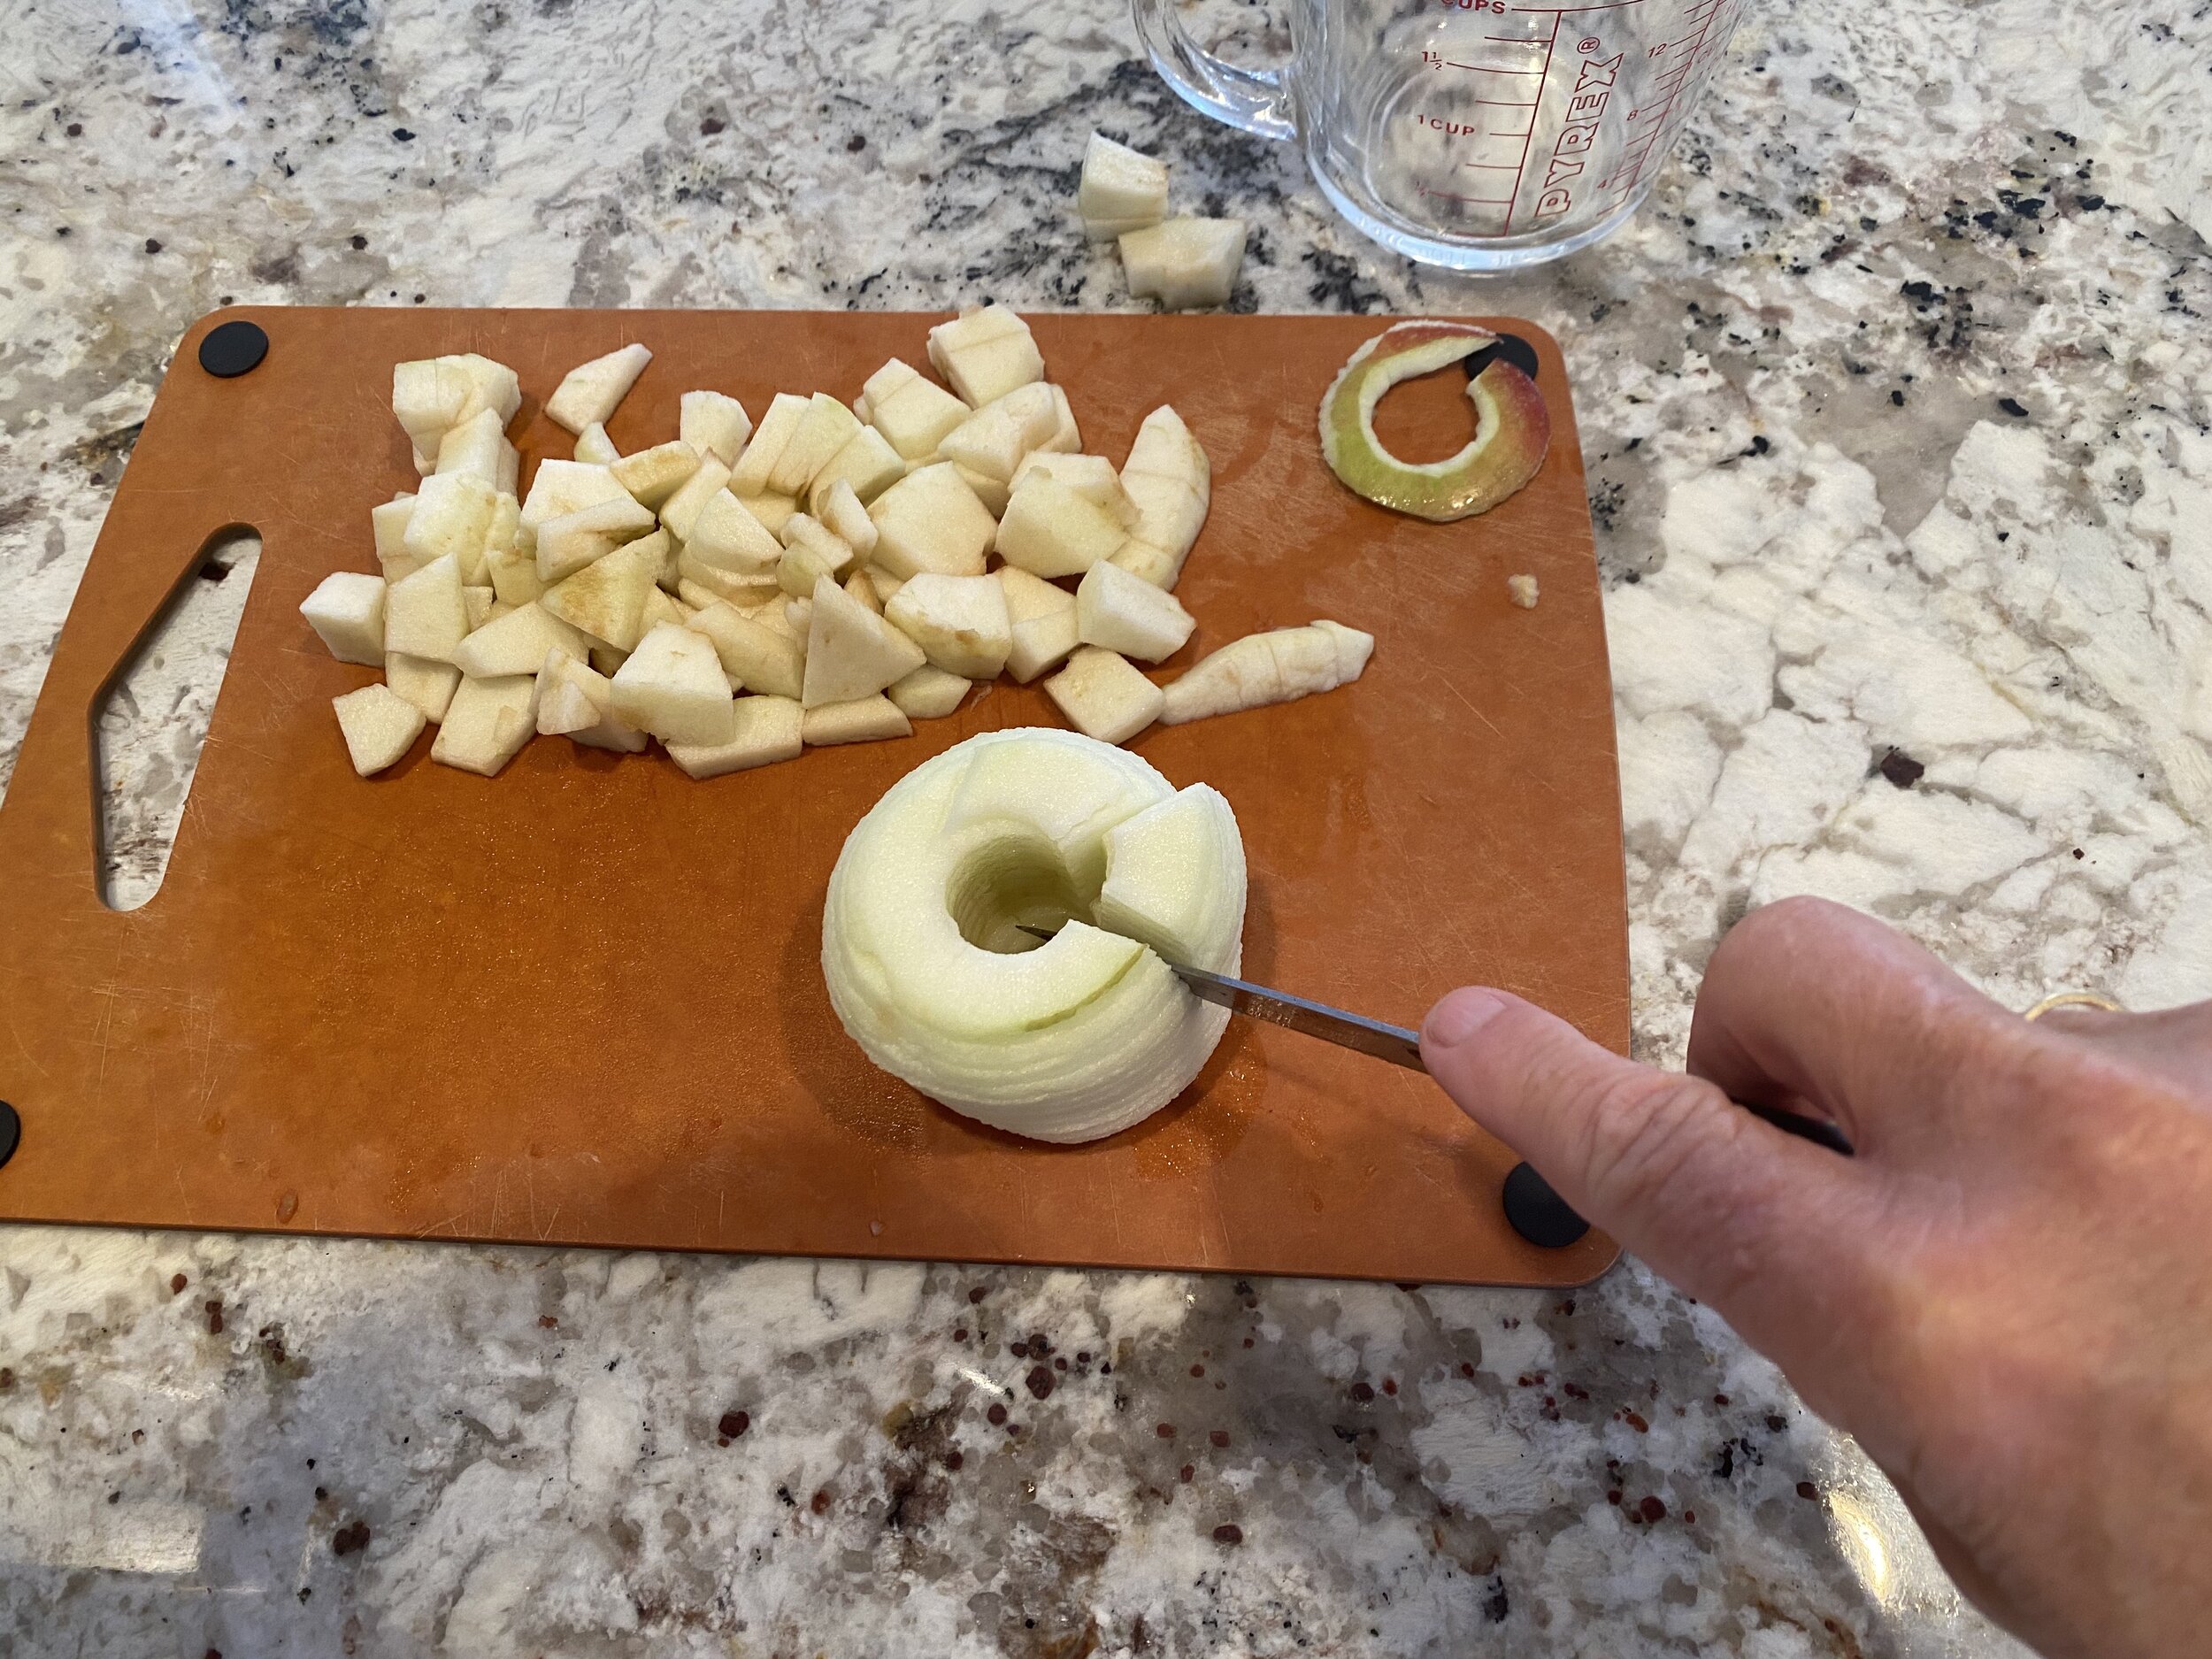
I cut the sliced apple in 1/2 or 1/3 for pie filling & 1/4 for my bread.

The slices are thin, which may not be your preference, especially for pie filling. But I have found that they work well for my apple bread recipe.