Apple Pie
Crust:
You can use my pie crust recipe (see my pie crust recipe post) or America’s Test Kitchen’s recipe for a double crust pie. But if you have a favorite GF crust recipe, use that. Or if you can find a ready-made frozen GF crust, you could also use that.
Filling:
5-7 medium size tart apples (see notes)
¾ - 1 cup sugar (can use any combo of white & brown sugar – depending on your taste) or
¼ cup Pyure + ½ cup Swerve brown sugar (or your favorite sugar substitute)
2 tbsp flour or 2 tbsp GF flour (I use America’s Test Kitchen GF blend or Trader Joe’s GF flour)
Dash salt
1 tsp cinnamon
¼ tsp nutmeg
Peel, core & thinly slice apples. (Can prep ahead of time – see my blog post A guide to prepping apples for baking)
If not using pre-prepped apples, mix sugar(s), flour, salt, cinnamon & nutmeg to thoroughly
combine. Add to apples.
Fill 9-10 inch pie crust (depends on how many apples you used & how full you like your pie).
Cover with top crust. Make a few small slices in crust with sharp knife. Or if you are feeling
fancy/creative, make a nice pattern or initial in the top crust. (The openings allow the pie to
vent.)
Brush crust with 1 egg white, slightly beaten.
Sprinkle crust with white sugar or cinnamon & sugar. This is optional, but I think it gives the crust a nice finish.
Bake at 400°F for 45-50 minutes. If crust is getting too brown & apples are not done yet, tent foil over pie.
Notes: I like McIntosh apples, but any tart apple will work, you can even use a couple different kinds, it’s all about your taste preference. I think the sweeter apples tend to get a little mushy when you bake them, so maybe stay away from that type. But if sweet is all you have, you can add 1 tbsp lemon juice to apples to make them a little more tart &/or cut back on how much sugar you use.
If your filling seems a little runny (some apples are just more juicy), you can add a little GF flour. I would only add ½ tbsp at a time, until it thickens. And remember, the filling will thicken a little as it bakes.
I recommend tasting your filling before filling the pie crust. Then you can adjust accordingly – add a little more sugar, cinnamon, or nutmeg.
I usually put a piece of foil on the bottom shelf, because my pies quite often run over & it saves me a little oven clean-up!
You can also make the filling & put it in a gallon size zip-lock type bag, then freeze it until you are ready to make your pie. When you are ready to make your pie, just take the filling out of the freezer to defrost on the counter. (See Blog post “A guide pt prepping apples for baking” so your apples don’t turn brown before you are ready to use them.)
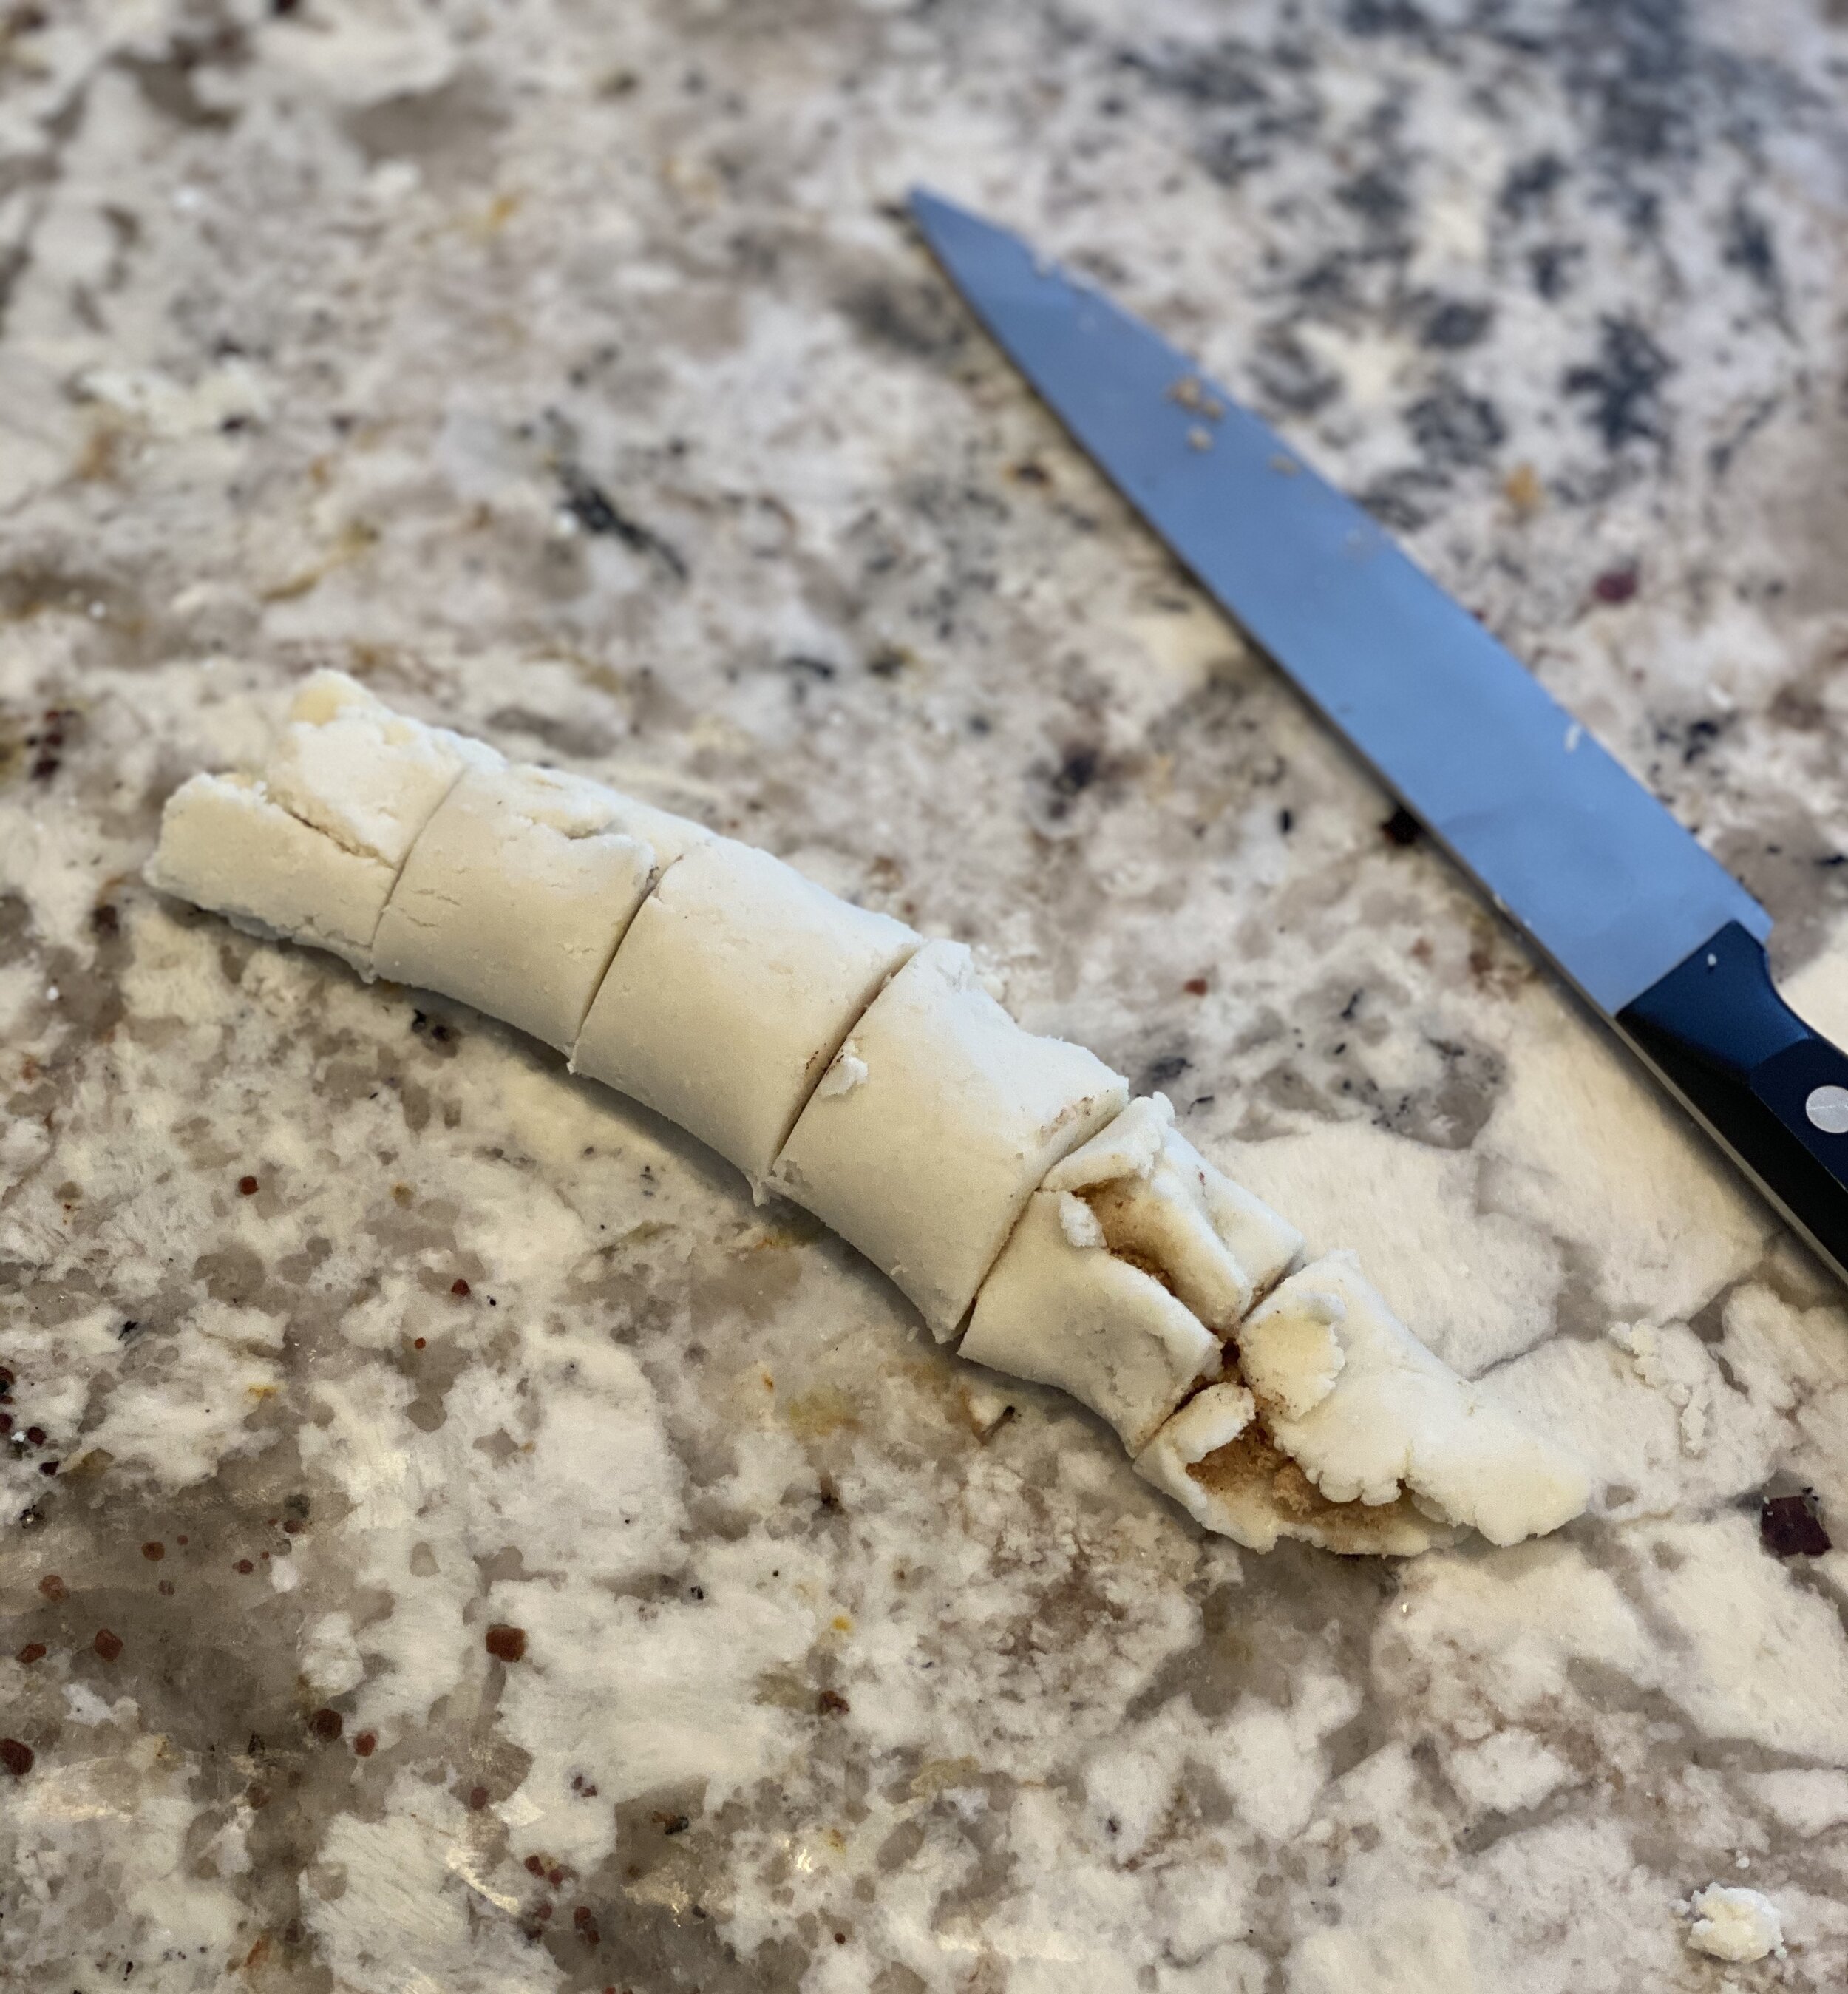
I learned to bake from my mom, who lived through the depression, so hated to see any food go to waste. She would always use the pie crust scraps to make little brown sugar & cinnamon pastry rolls. One of my favorite things about making apple pie, so I still make these!
Just roll out the pie crust scraps to about the same thickness as your pie crust. Put a few small dots of butter on the crust, then sprinkle with brown sugar & cinnamon.
Roll dough into log. Then slice - about 2 inches thick. And place in small baking dish (it can be glass or metal).
Bake at 425°F for 10-20 minutes (depending on how thick you made them, just check them every 5 minutes so they don’t burn). Cool. Although, I can never wait until they cool. i just wait until they’re cool enough to eat!
Not always beautiful, but always delicious!


