Fairy (Butterfly) Cakes
Batter
½ cup butter
½ cup sugar
2 eggs
1 cup America’s Test Kitchen GF flour + ½ tsp xanthan gum or 1 cup Bob’s 1 to 1 GF flour blend or 1 cup of your favorite GF
flour + ½ tsp xanthan gum (omit if your flour already contains it)
1½ tsp baking powder
¼ tsp salt
1 tsp GF vanilla
1 tbsp milk
Icing
10 tbsp unsalted butter
2 cups powdered sugar
2 tsp GF vanilla
Few drops of food coloring, optional
Glaze
1½ cups powdered sugar
1 – 2 tbsp water or milk
½ tsp GF vanilla
Few drops of food coloring, optional
Filling & Decoration
4 tbsp jam (strawberry seems to be the most common)
Powdered sugar (for dusting)
Sprinkles
Edible glitter
Whisk together flour, xanthan gum (if using), baking powder & salt. Set aside.
Beat butter & sugar together until smooth, light & fluffy, about 3-5 minutes.
Add eggs one at a time, beating well after each.
Fold in flour mixture.
Add vanilla & milk.
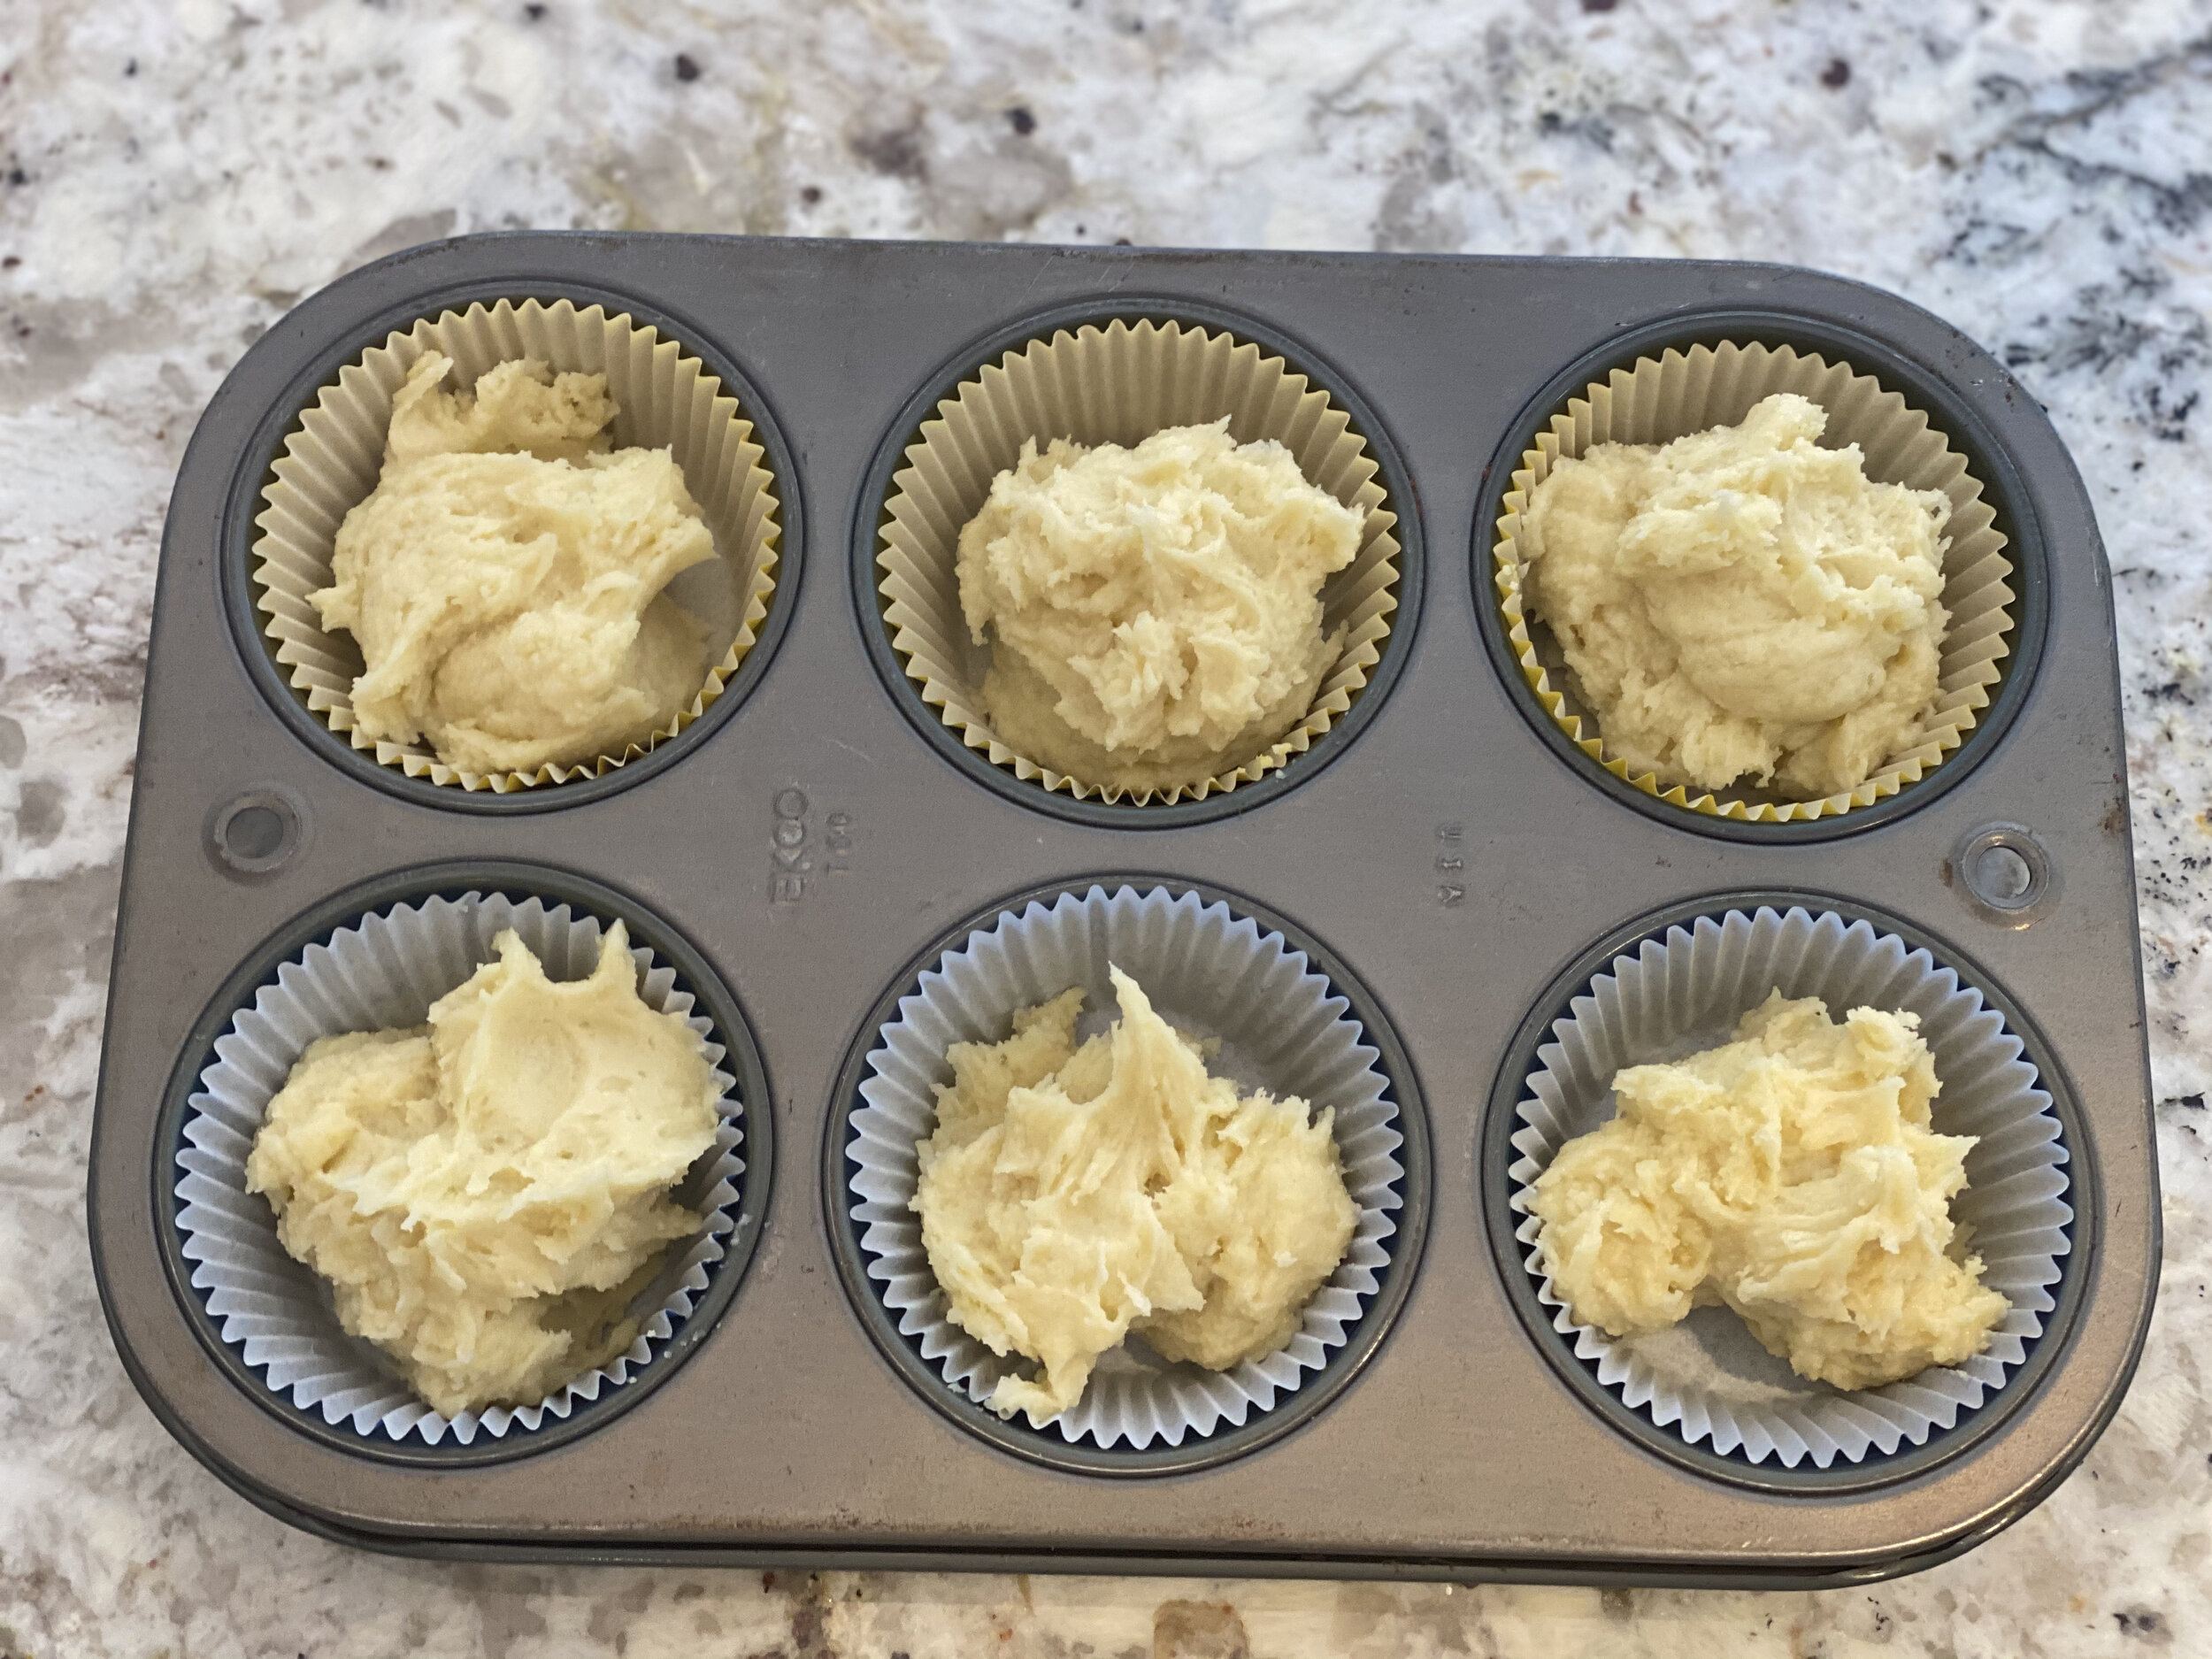
Spoon mixture into muffin (or fairy) tins lined with paper muffin cups. Fill about 3/4 full. The batter is fairly stiff, but don’t worry about smoothing it out in the muffin cups, it will smooth out as it bakes.
Bake at 350° for 20-25 minutes.
Cool on wire rack.
While the fairy cakes are cooling, you can make the icing or the glaze.
Icing
Beat butter until creamy.
Beat in the sugar & vanilla.
If the icing is too stiff, just add a little milk, a few drops at a time until you get the consistency you want.
Add food coloring, if using.
Glaze
Put powdered sugar in bowl.
Slowly add the water until you get the consistency you want.
Add food coloring, if using.
If you are making butterfly cakes & are using icing. (This only works with regular cupcake size, the mini cupcake size is just too tiny to cut out the center & have the pieces not just look like left over crumbs!)
Using a small sharp pointed knife, cut out a small, round middle section from the top half of the fairy cake. Set aside.
Fill the hole with strawberry jam.
Using pastry bag (or a spoon) put a little icing on top of the filling.
Cut the pieces you took out of the center in half & stand up in the icing at angles so they look like butterfly wings. Spread a little more icing between the butterfly wings.
You can lightly dust with powdered sugar, or sprinkle on your favorite sprinkles or both!
If you are making fairy cakes (without filling).
Decorate each fairy cake with glaze or icing (just a little & not thick).
Decorate with your favorite sprinkles.
Notes:
Most British recipes call for “castor” sugar, which basically has a texture between regular sugar & powdered sugar. I just used regular sugar & it seemed to work fine. These recipes also call for “self-rising” flour, which is available GF, but I have not tried it. I just make my own GF flour “self-rising” by adding baking powder & salt.
The other British thing is the size of the pans. Apparently, there is a “fairy cake” pan that is slightly smaller & not as deep as American muffin pans. I do not have a fairy cake pan, so I tired it with regular & mini muffin pans.
It seems one of the main differences is that the British do not pile on the frosting like we do in America. They go for understated with the frosting or even use glaze drizzled on the top. How you decorate your fairy cakes seems to be a matter of personal preference. So be creative & make them your own!
The Fairy cakes are better if you eat them within in a day of making them. Otherwise they can get a little dry. But the same batter used for Butterfly cakes doesn’t dry out with the jam filling & frosting.


